I already had a trip to France and Italy planned when I found out I would need to be in Madrid the following week for work. So after some quick thinking and planning, I managed to extend my time in Europe for another week and head out to Madrid a few days early before the meeting!
It was my first time in Spain, and I wanted to make the most of it. My friend Sarah Ruth (the one who taught me
my favorite brownie recipe) joined me from Sweden, and we managed to hit a lot of the capital and even took a day trip to the nearby town of Segovia. Some highlights of the trip:
Eating chocolate con churros every day for breakfast! We liked going to El Brillante for the authentic Madrileño experience and learned about purros there, which are basically, bigger, fatter churros that really remind me of Taiwanese
you tiao. We also tried them at Chocolatería San Ginés since everyone says they have the best ones, and I did like them more because they were less greasy and the hot chocolate wasn't as sweet.
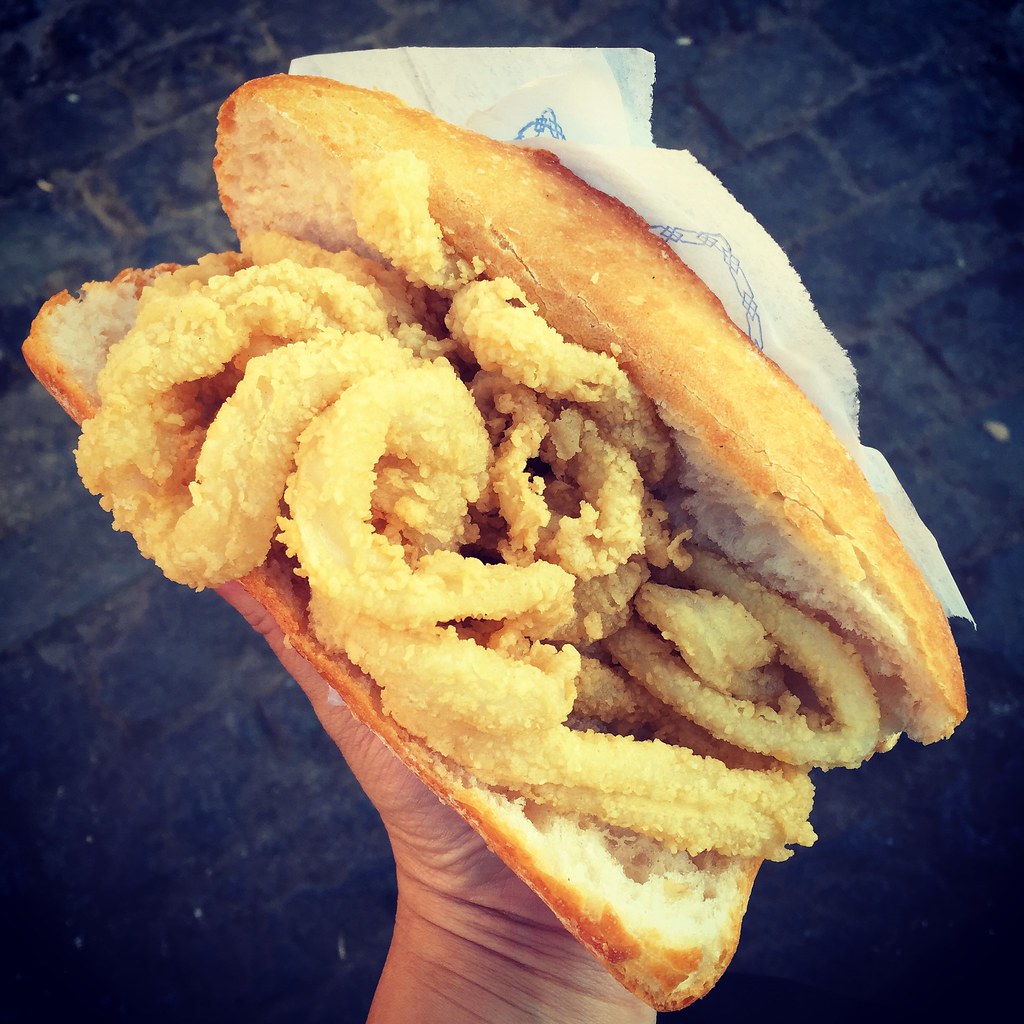
One of Sarah Ruth's friend's boyfriend was a local, and he was kind enough to take us around 2 of the 3 nights we were free. I really wanted to try Madrid's specialty--bocadillo de calamares--which is basically like a fried calamari po'boy. He took us to La Campana just off of Plaza Mayor, and the sandwich was a lot bigger than I expected! It was pretty good, but I would've appreciated some type of sauce on there like a spicy remoulade or an aioli or something. I bet it would be really good at 3 am after a night of partying!
Another one of his suggestions was a Chinese restaurant that was located...in an underground parking garage. I totally thought it wouldn't be worth even seeking, but then we looked on-line for it, and it seemed like the real deal. So after more than 10 days without Asian food, I was desperate enough to try it out. You guys, it was awesome! It honestly tasted like something my mom would make! To find it, go to the southeast corner of Plaza de Espana and look for the stairs that go down. Can't miss it.
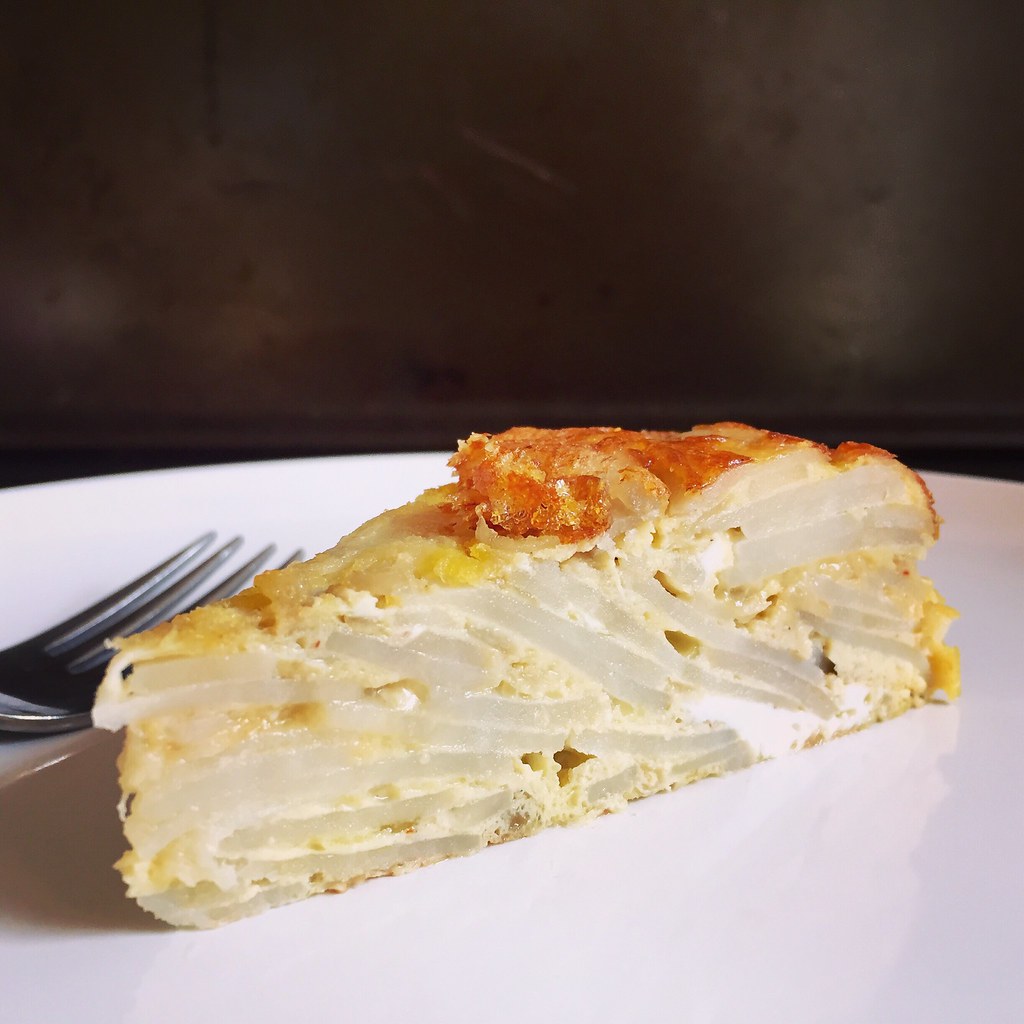
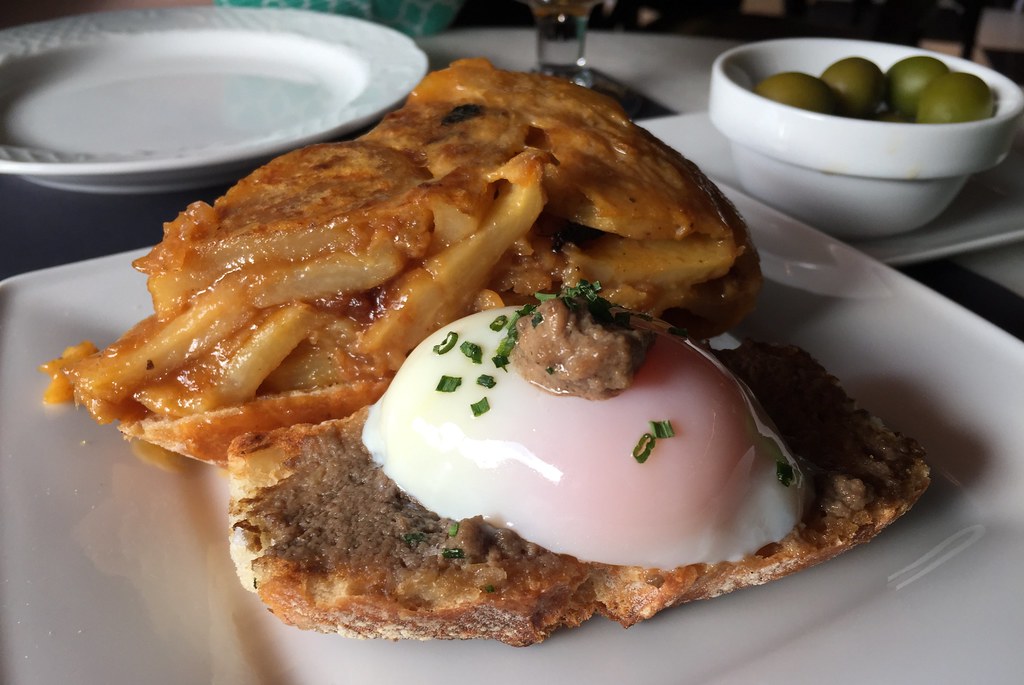
We went to La Latina for tapas one night, but I was so tired we only made it to two bars . My favorite was Juana La Loca. They had the best tortilla I had in Madrid, probably because they caramelized their onions for extra flavor. They also had El Increible, a soft-cooked egg with truffle paste on bread. It was amazing. I loved that they also had some dessert options for tapas, although we didn't try any.
Mercado de San Miguel is like the Fanueil Hall/Quincy Market of Madrid (super touristy food court) but it's so beautiful I can't help loving it. They have a paella stall with four kinds of paella, and you can get a rac
ión (single serving) instead of having to order enough for at least 2 people like every other restaurant. I tried the paella negra which was colored with black squid ink. The guy scraped up some of the crusty bits from the bottom of the pan so it had a nice combination of textures.
There were a lot of great places to watch the sunset. Two of mine were next to the Royal Palace and the Temple of Debod, which was moved from Egypt when the building of a dam threatened to flood it (similar to how the Met in NYC got the Temple of Dendur).
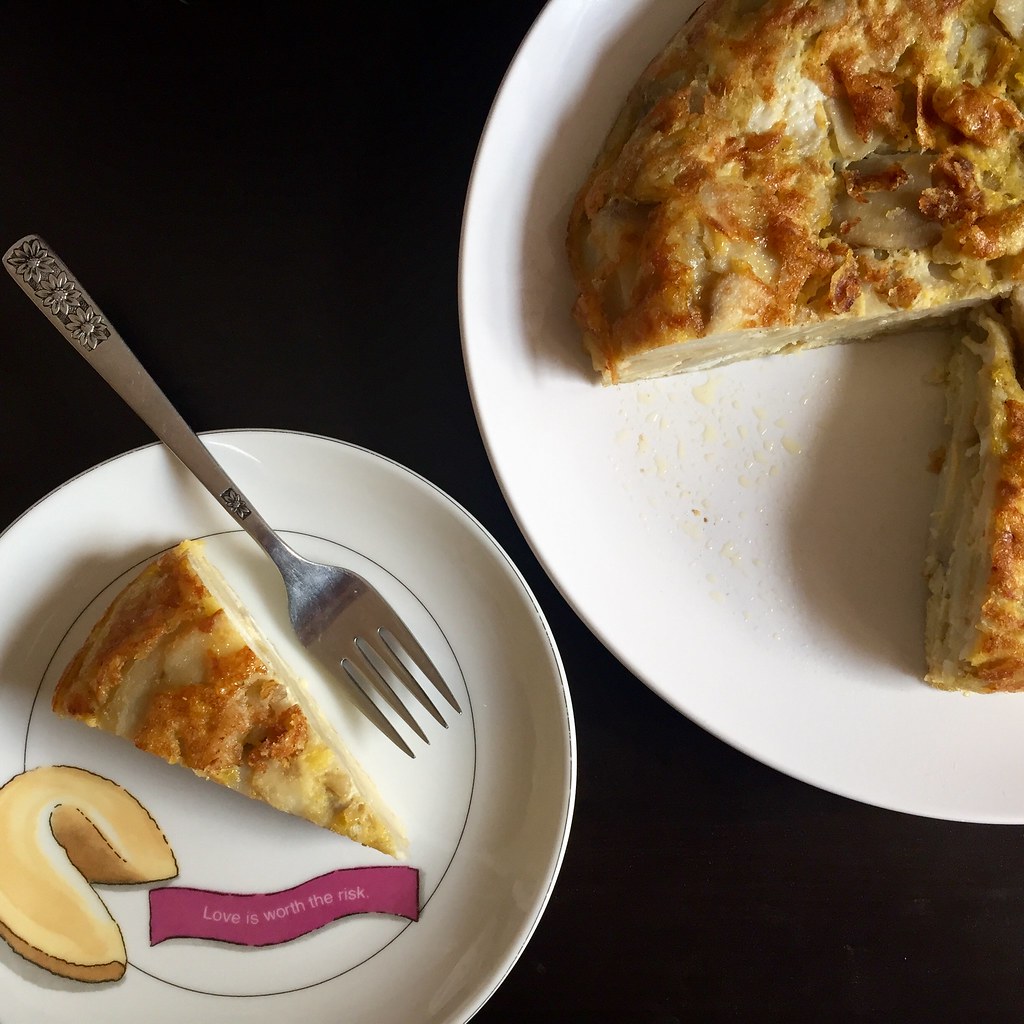
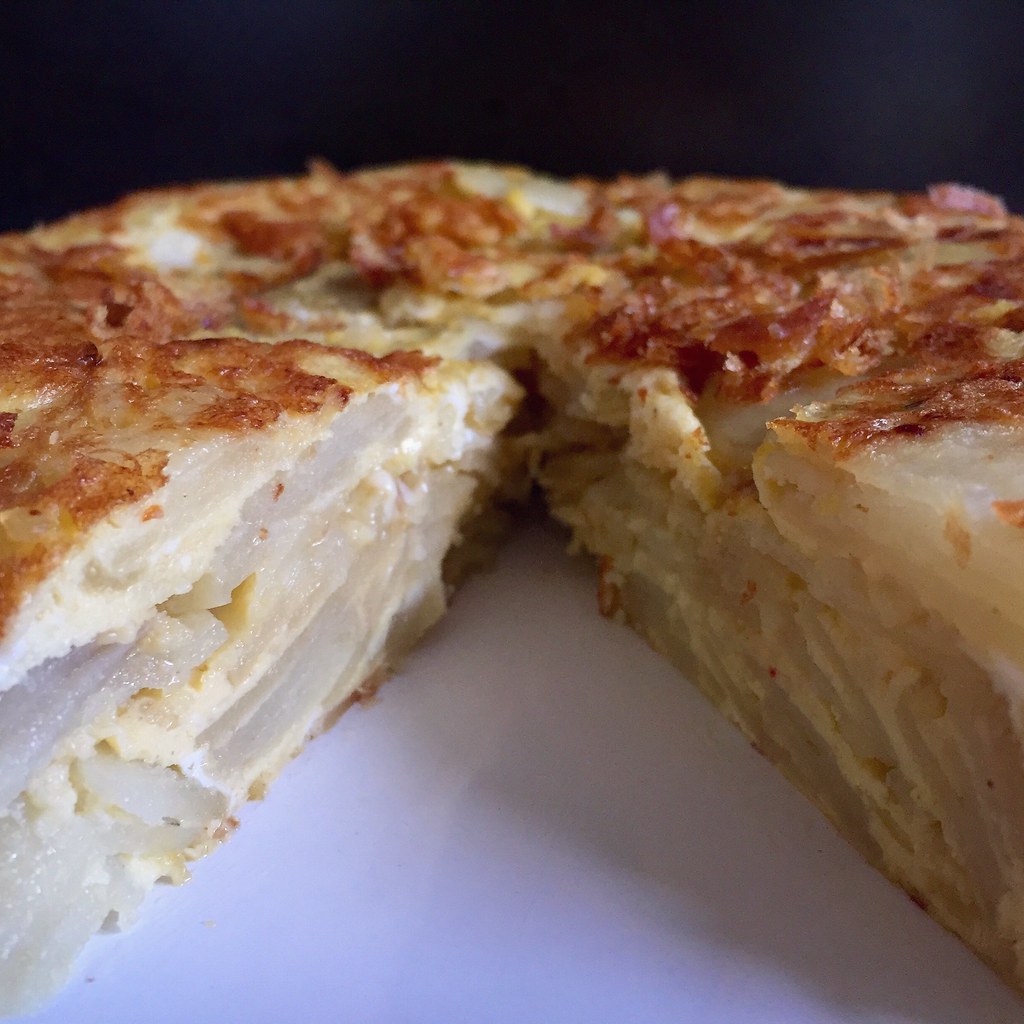
After returning from Madrid, I knew I wanted to try making the iconic tortilla española at home. I settled on
Mark Bittman's recipe with a few tweaks. Instead of a whole cup of olive oil, I used half olive oil, half vegetable oil, mostly for budgetary reasons. It's still a lot of oil, though, but you can strain it and save it in the refrigerator for the next time you make tortilla española. I also started cooking the onions before the potatoes to try get some caramelized flavor into the tortilla, à la Juana La Loca. They were just starting to brown on the edges when I added the potatoes, but I think next time I'll wait even longer since they didn't really end up caramelized by the time the potatoes were done.
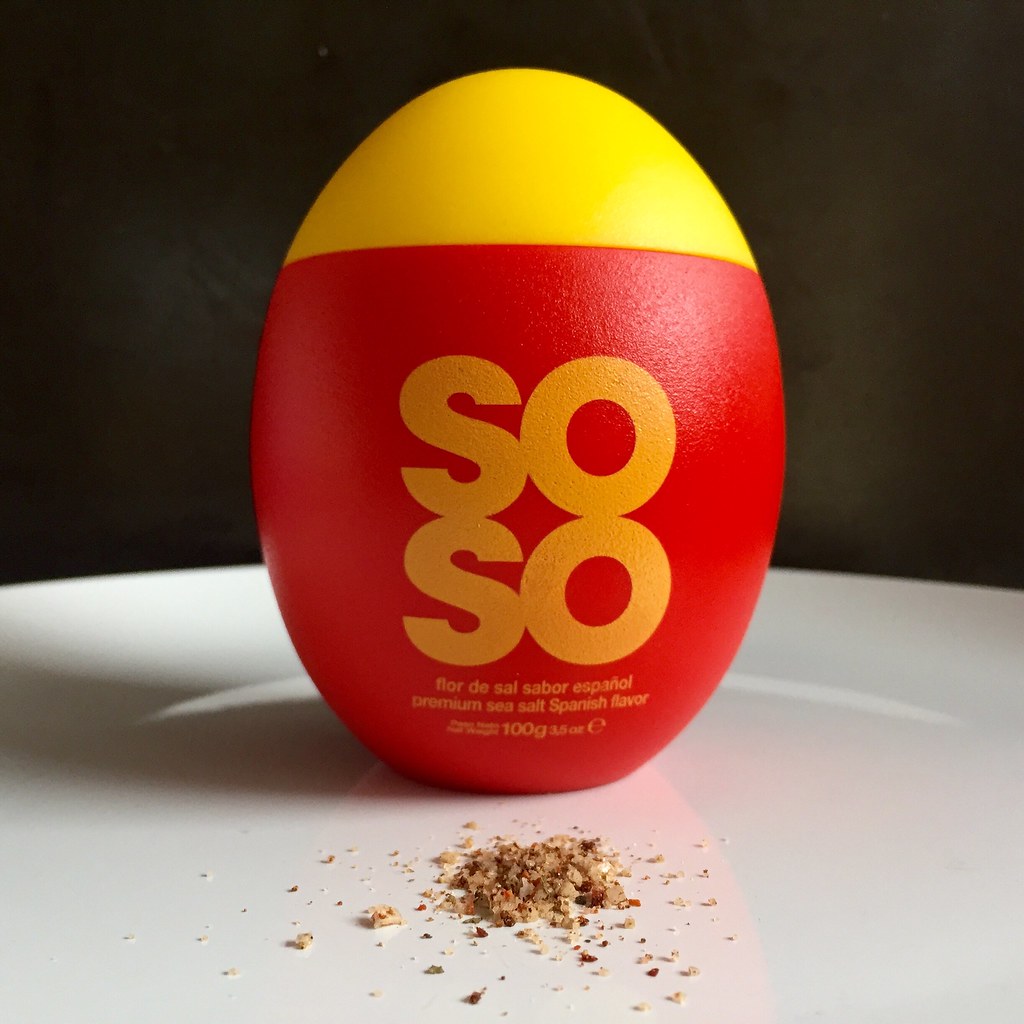
Lastly, instead of just salt and pepper, I used this awesome Spanish flavored sea salt I picked up from El Corte Inglés that was seasoned with hot pepper, rosemary, black pepper, garlic, onion, parsley, and tomato.
Tortilla Española (adapted from
Mark Bittman)
serves 3 as a main course and 6 as an appetizer1 1/4 lbs. potatoes (I used Russet, but Yukon Golds would work too)
1 medium onion
1 cup olive oil (or use 1/2 olive oil 1/2 vegetable oil)
Salt and freshly ground pepper
6 large eggs
Heat the oil in an 8- or 10-inch non-stick skillet over medium heat. Chop the onions and add to the oil with some salt and pepper. Stir occasionally while you prepare the potatoes.
Slice the potatoes thinly, using a mandoline if you have one. Add to the oil along with some more salt and pepper and adjust the heat so that it bubbles lazily. Cook until the potatoes are tender, but not brown. While the potatoes are cooking, beat the eggs with some salt and pepper.
Drain the potatoes and onions in a colander, reserving the oil. Wipe the skillet clean and add two tablespoons of oil back to it. Heat over medium heat. Add the potatoes to the egg mixture and mix gently. Transfer to the skillet. After the edges firm up, about a minute or so, reduce the heat to medium-low and cook for 5 more minutes.
Use a heat-proof rubber spatula to loosen the edges of the tortilla. Place a large plate on top of the skillet and flip the tortilla onto it. Add another tablespoon of oil into the skillet and slide the tortilla, cooked side up, back in. Cook for another 5 minutes, using the spatula to coax the sides of the tortilla into a domed shape. Slide onto a plate and serve warm or at room temperature.
Next:
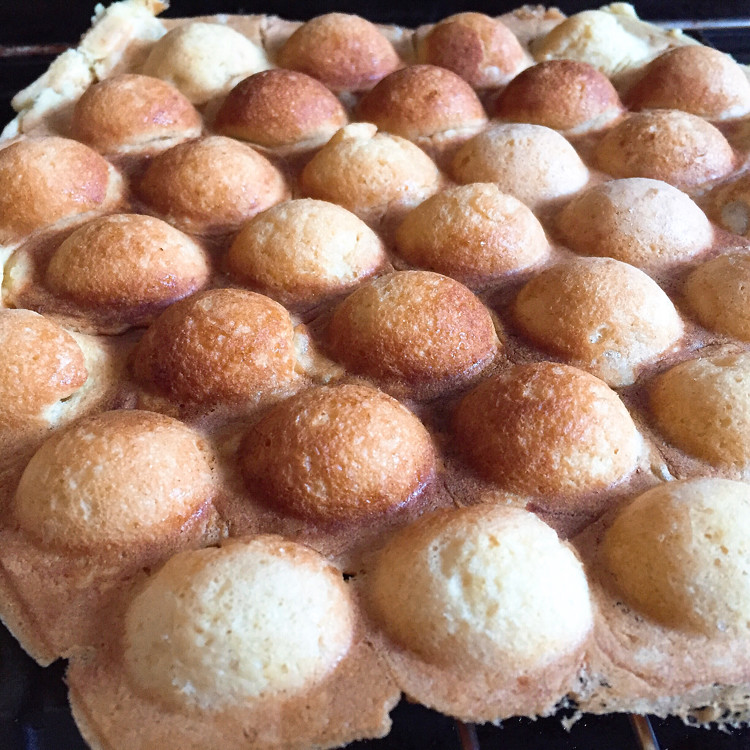
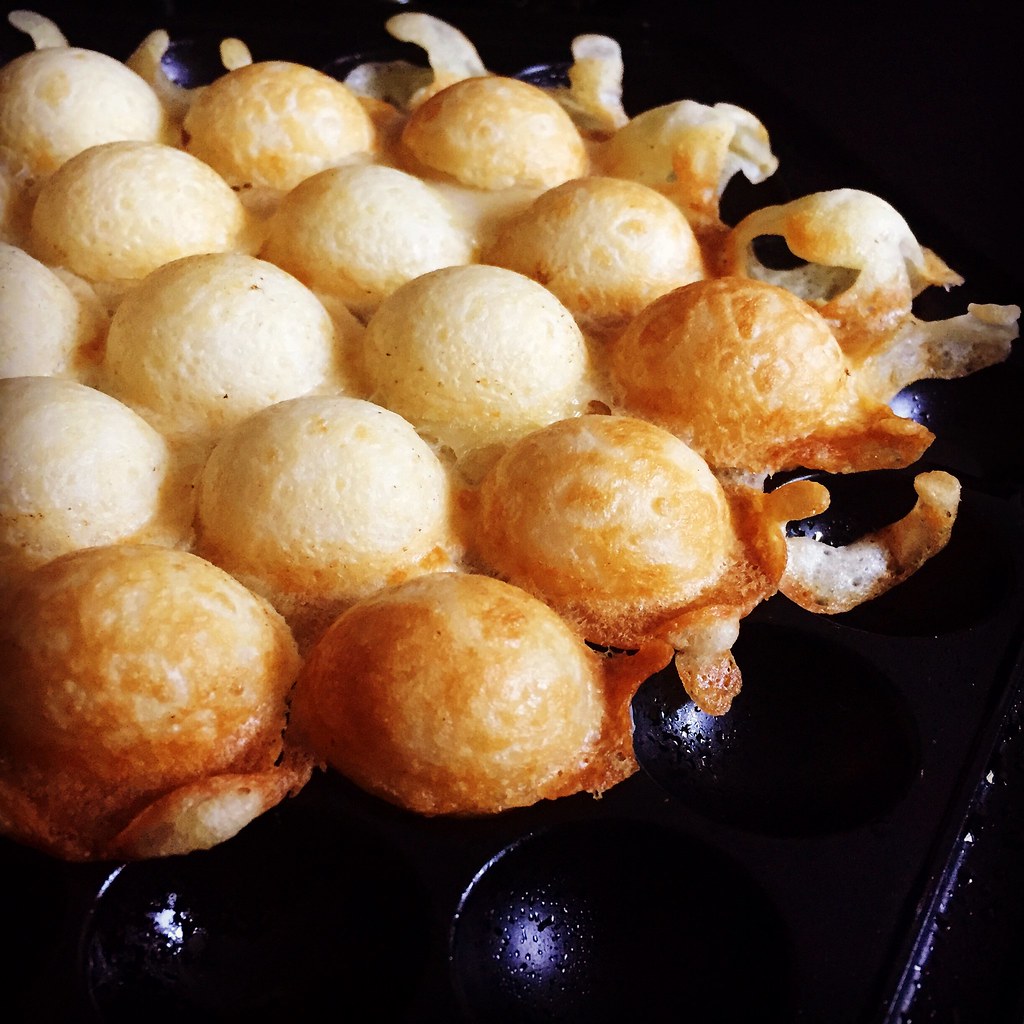
Maine Blueberry GateauPreviously:
Sesame Soba Noodles with Avocado RoseLast Year:
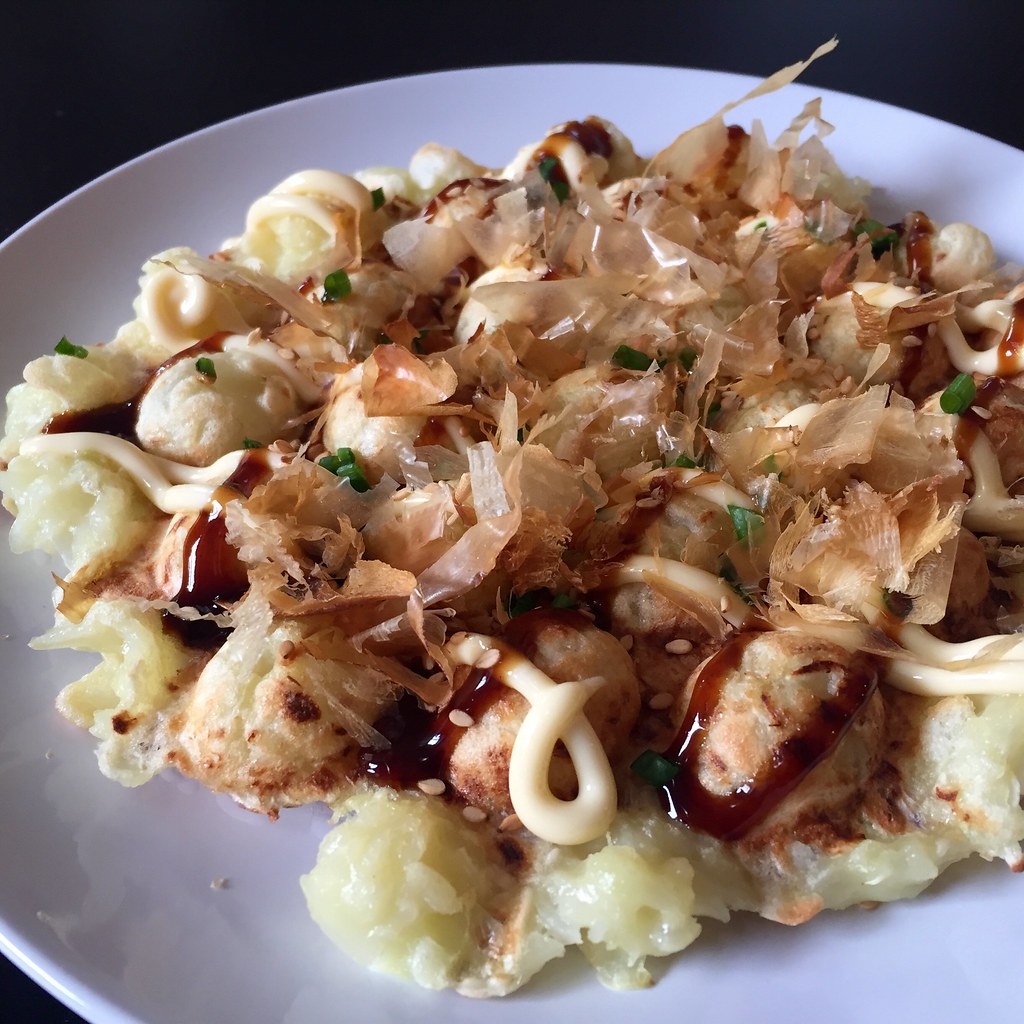
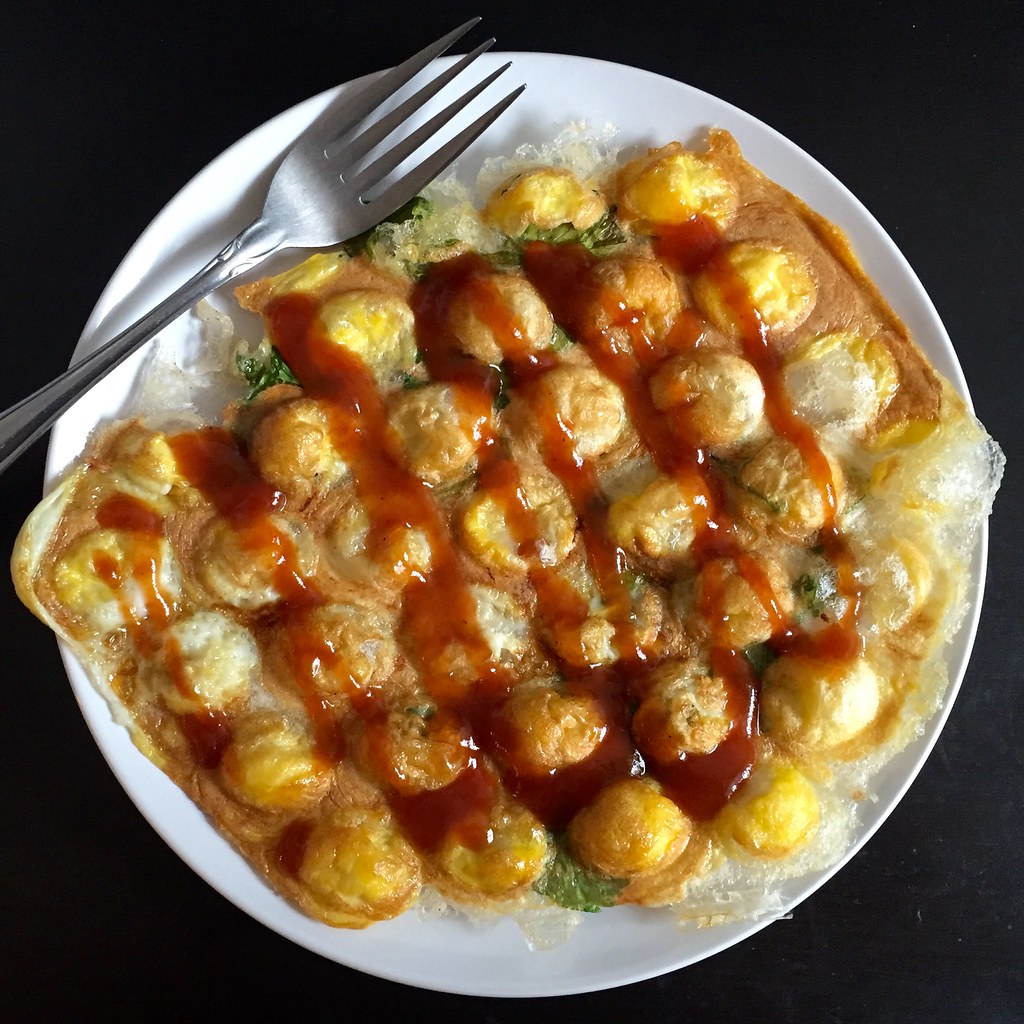
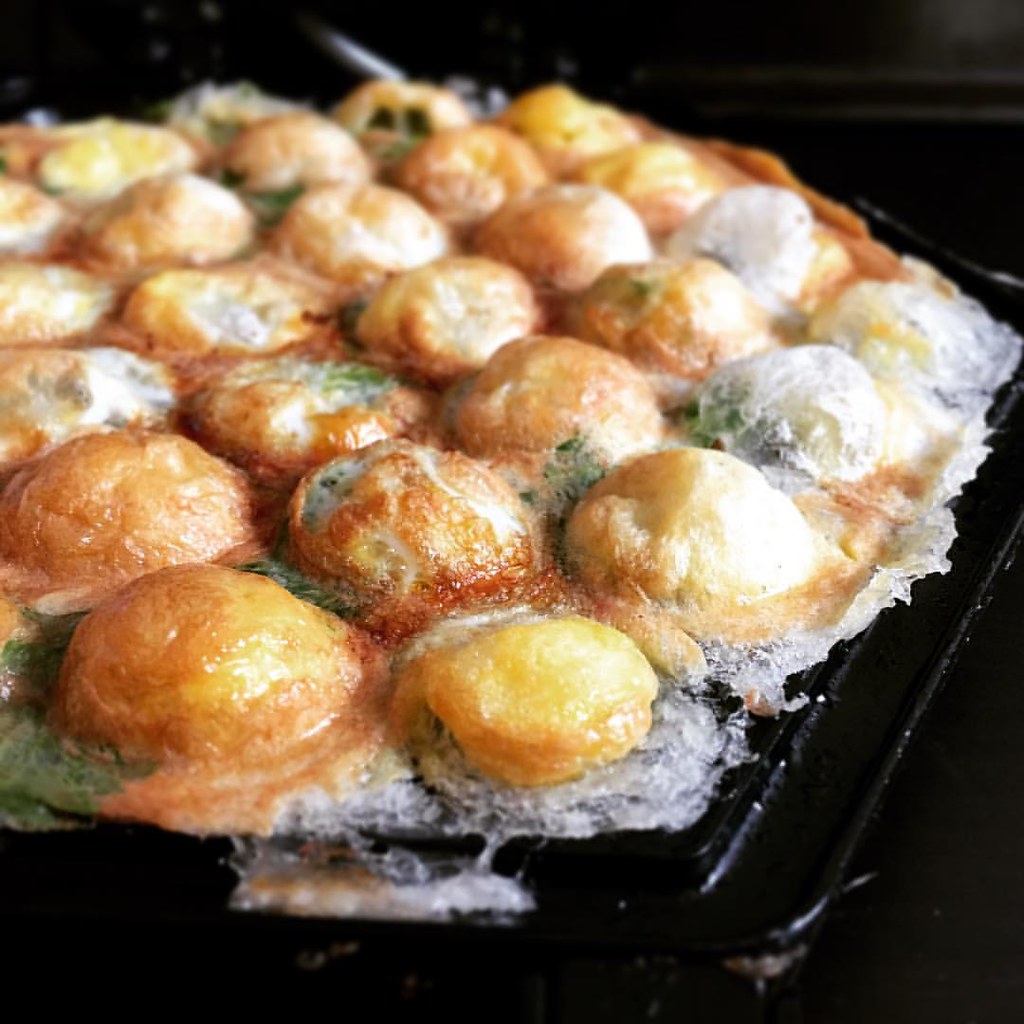
Taiwanese Oyster Omelet (Without the Oysters)Two Years Ago:
Candied Bacon Chocolate Chip PancakesThree Years Ago:
Rosemary Honey and Lemon Frozen YogurtSix Years Ago:
Passion Fruit Ice CreamSeven Years Ago:
Kalbi (Korean Barbecue Short Ribs)